Extracting Structured Data From Resumes

Overview
In today's competitive hiring landscape, recruiters and HR professionals often need to process hundreds of resumes to find the right candidates. Manual review is time-consuming and prone to inconsistency.
In this tutorial we will cover how to use Document Data Extractor to process a series of resumes in order to get a tablulated dataset with the key details of each candidate. We will cover the following topics:
- How to create an extractor
- How to configure the fields that we are looking from
- How to upload documents for extraction
- How to download the extracted data as a spreadsheet
Sourcing the Data
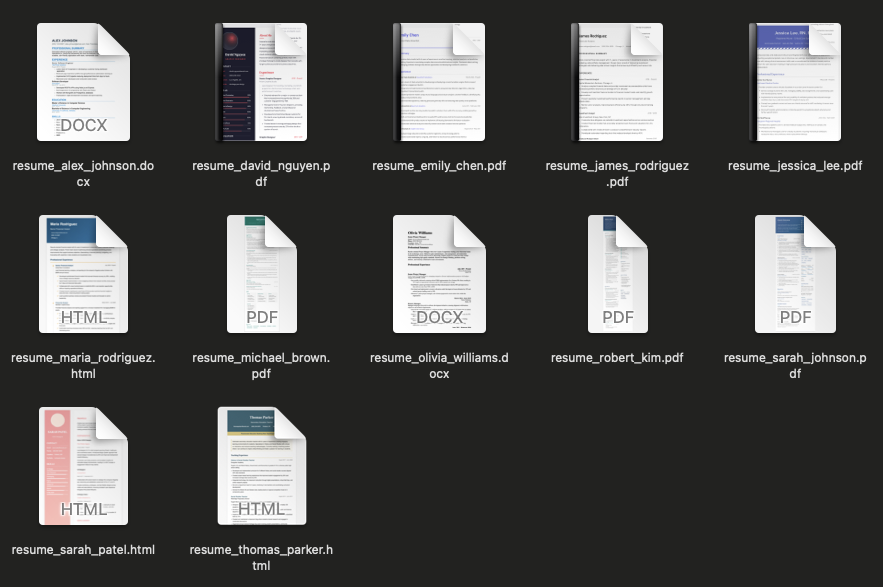
For this example we will be taking a selection of resumes from your applicant tracking system or job board. These are downloaded and saved in a folder. Common file formats include:
- PDF resumes
- Word documents (.docx)
- Plain text resumes
- HTML resumes
- Scanned image-based resumes (OCR supported)
We will be using 12 example fictitious resumes with various different arrangements and formats.
Creating the Extractor
The first step we need to do is to create an extractor. An extractor is a template for how we want our structured data to look. Think of it as the headers to our spreadsheet, or for those more technically minded, a database schema.
To start with, create an extractor by going to the "Extractors" section, and clicking on the "Create Extractor" button. You will be prompted to give your extractor a name, so we will go with "Resumes".
Configuring the Fields
Once the extractor is created, we need to configure a set of fields. A field is a specific piece of data that we want to extract from each resume. This can be pretty much anything you can describe. Think of a field as the title of a column in our spreadsheet.
For this example, we want to extract the following data from each resume:
- fullName: The complete name of the candidate as it appears on the resume
- jobTitle: The current or most recent job title or position held by the candidate
- employmentStartDate: The date when the candidate started their current or most recent position
- emailAddress: The primary email address of the candidate
- phoneNumber: The contact phone number of the candidate
- yearsExperience: The total number of years of professional experience
- languages: The languages the candidate can speak
- isCurrentlyEmployed: Is the candidate currently employed
- education: The highest level of education completed by the candidate and at what institution
- skills: The technical and professional skills of the candidate
For each of these pieces of information we will need to configure a field. To do this, click on the "New Field" button. You will need to fill out the following information for the field:

- Name: The name of the field. This is what will be used in the completed structured data.
- Type: The type of data that the field will contain. For example, whether the information is text, a number, a date, etc.
- Required: Whether the field is required. If the extractor is not able to find this field in the article, the document will be skipped. Use this for the most critical fields in your data.
- Prompt: The key part! In the text box describe exactly what information you are trying to find, or where to locate it in the article. Be direct, but descriptive for best accuracy.
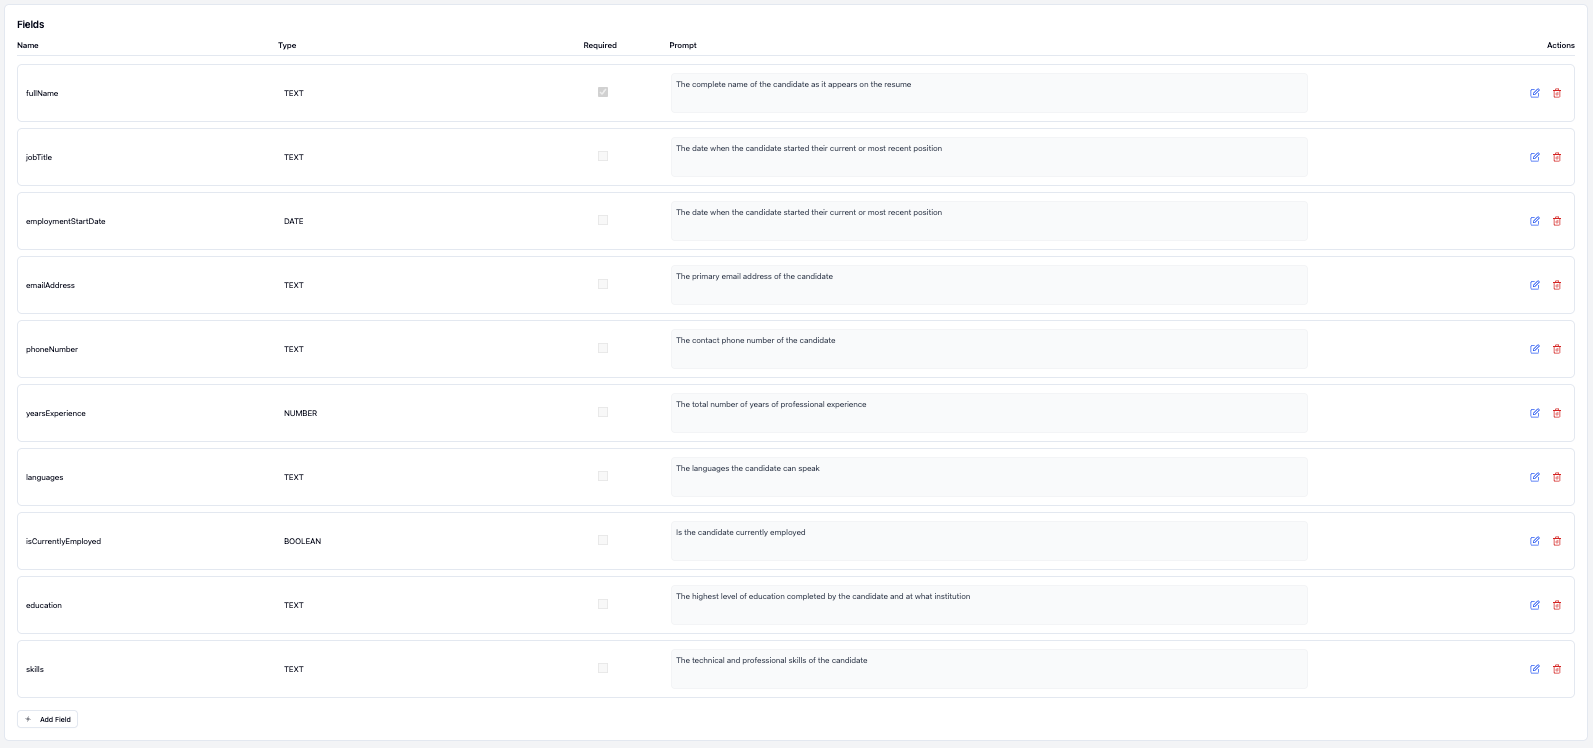
See the screenshot below of how we filled out the fields in our extractor.
Starting a Run & Uploading the Documents
Once our extractor and our fields are set up, we can start uploading fields and extracting data from them. To do this, click the Extract Documents button in the top right.

On the extraction page, you can see the extractor details, as well as the fields that we will be extracting. To start the extraction process, drop one or more files onto the file dropzone, or click it to add files using the file explorer.
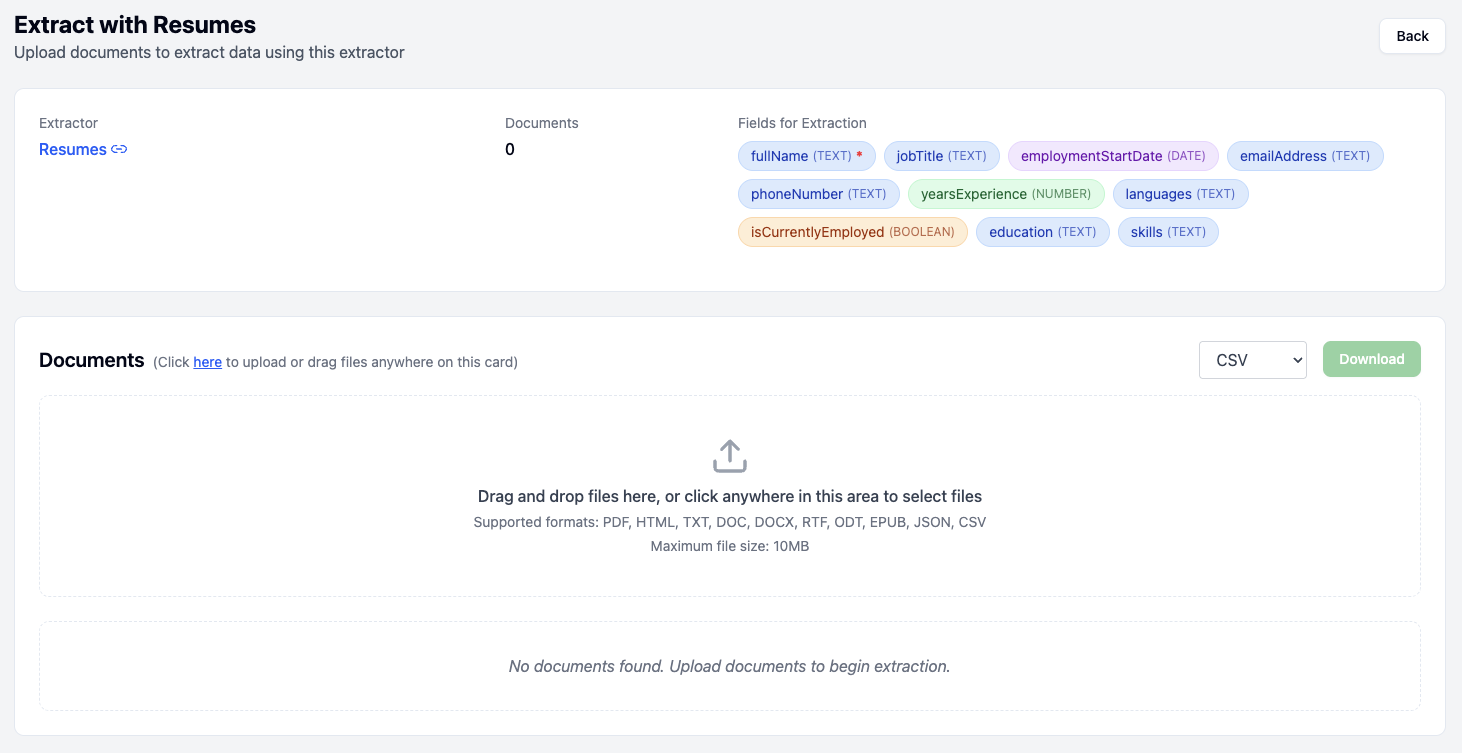
Once the documents have been dropped, they will first show up in the Pending state, this means that they have not yet been extracted. After a short time, they will transition to Processing which indicates that the file is being extracted. In the image below, you can see documents being processed.
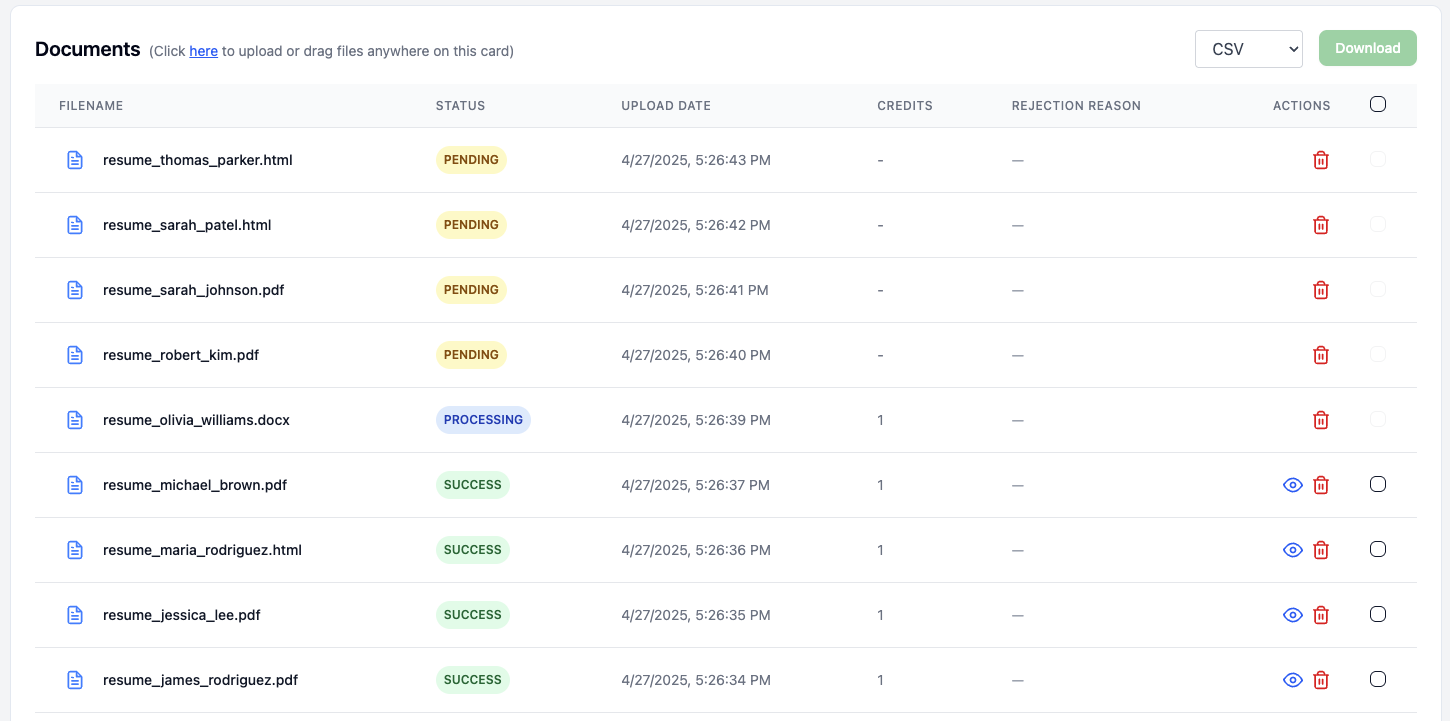
Once a document finishes, it can be in one of two states. A document that has had all of the data extracted will be marked as Success in green. A document which did not have the required fields, or which had some other issue will be marked as Failure in red.
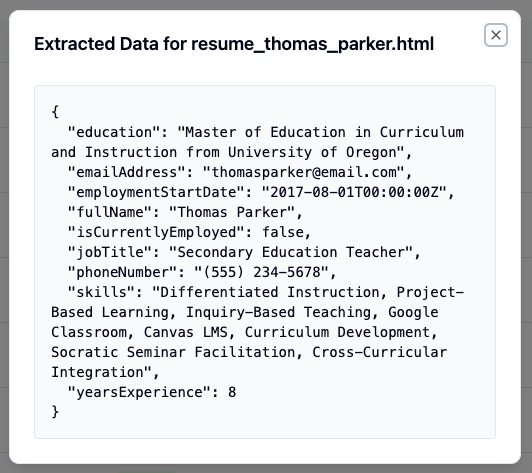
In this case, all of our documents were successfully extracted. You can view a preview of the extracted data by clicking on the preview (👁) button on the right of each individual document.
Downloading the Extracted Data
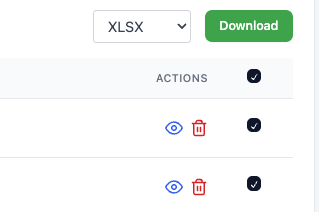
Now that all of the documents have been uploaded and processed, we can now download the extracted data. Currently we have the option of Comma Separated (CSV), Excel (XLSX) and JSON.
Use the checkboxes to select which documents we want to download. In this case, we will use the select all checkbox to download all of the documents. We will select Excel (XLSX) as the format, and download the file.
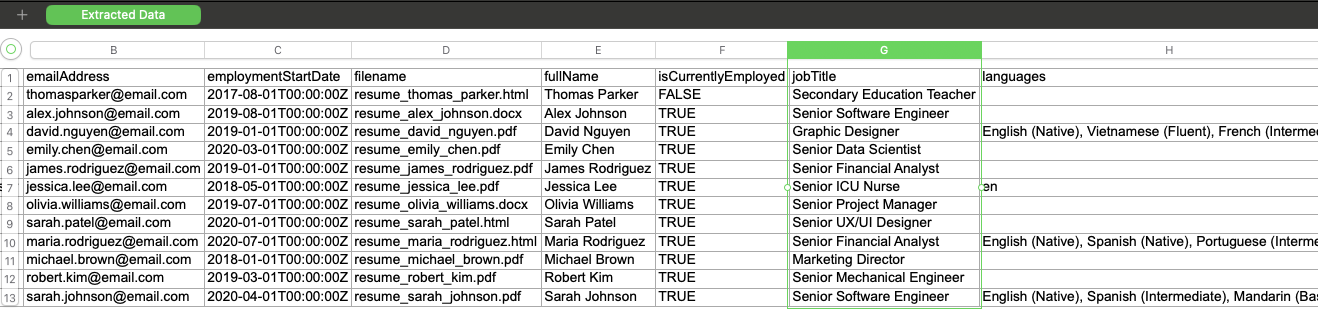
As you can see from the screenshot below, we have one row for each resume, and a column for each of the fields that we requested. Note that the data conforms to the requested data format from the fields. This makes it easy to analyze, filter, and sort candidates based on your hiring criteria. In addition, the filename field contains the filename of the resume, so you can easily refer back to the original document.